


Why change the steering ball joints?
Steering ball joints play a major role and must be in good condition. The ball joint is one of the components of the "ground connection": it is a decisive factor in safety. Off-road use wears them out prematurely, as they are sometimes stressed to their extreme limits. A ball joint in poor condition leads to premature wear of all the other parts to which it is connected: this problem can be measured by the noise heard when there is excessive play in the ball joints (rattling) or visually because the ball joint bellows are punctured or torn and grease is on the ball joint instead of in it.
Guaranteed safety: a ball joint in good condition makes it easier to control your vehicle. It prevents a time lag between the moment you turn the steering wheel and the reaction of the wheels. In extreme cases, significant damage can be caused by worn ball joints.
Guaranteed savings: changing the ball joints in good time will prevent damage to a number of other mechanical components or ground connections. And, as a result, the premature replacement of much more expensive mechanical components.
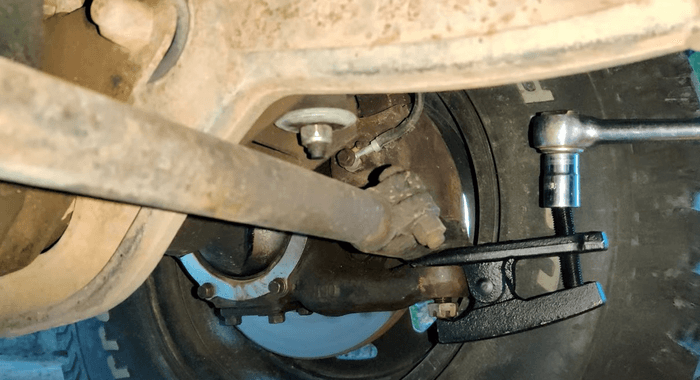
In this article, we'll take you step-by-step through the process of changing a steering ball joint on your vehicle.
We chose to change the steering ball joint on a Nissan Patrol Y60.
This tutorial is valid for many 4x4 models.
TOOLS REQUIRED
To change the steering ball joints on your 4x4, you'll need:
- Ratchet spanner + 17 and 19 mm sockets and one for the ball joint remover, depending on the model. 17 and 19 mm open-end spanners
- Ball joint remover
- Pliers
- Hammer
- Flat screwdriver
- Release agent
- Grease gun and grease
- Cloths
LEVEL OF DIFFICULTY
To give you an idea of the level of difficulty of our tutorials, we've graded them from 1 to 5.
Changing the steering ball joints on a 4x4 is level 2.
WORKSHOP
PARTS
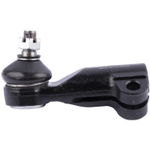
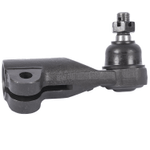
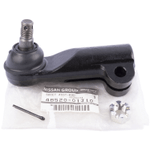
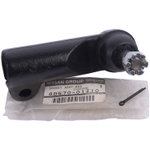
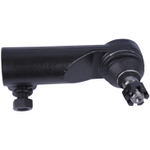

Find the steering ball joints to suit your vehicle:

Euro4x4parts features over a hundred mechanical tutorials on 4X4XPERT, designed to get you started and help you maintain and repair your 4x4. These tutorials, illustrated by photos and videos, have been created by us and by some of our customers who are keen to share their knowledge and experience.
Tutorial created with the help of Laura & Erwan - On The Road Mitsu
Do it yourself, you'll be even prouder! To help you out, Euro4x4parts shares its know-how and expertise in mechanics through 4X4XPERT: new products, technical sheets, and personalized tutorials... You've got the keys!
And because we also learn from your experiences, your feedback is essential. Let us know your thoughts and suggestions by email: 4x4xpert@euro4x4parts.com
Check out our complete catalogue of 4x4 parts and accessories!
All the photos in our articles are taken on authorized roads or tracks, private land, or during supervised competitions. Let's all do our part to preserve the environment!
Please note: Euro4x4parts publishes this information to help its customers, but cannot be held responsible for the advice given here and their consequences when used.